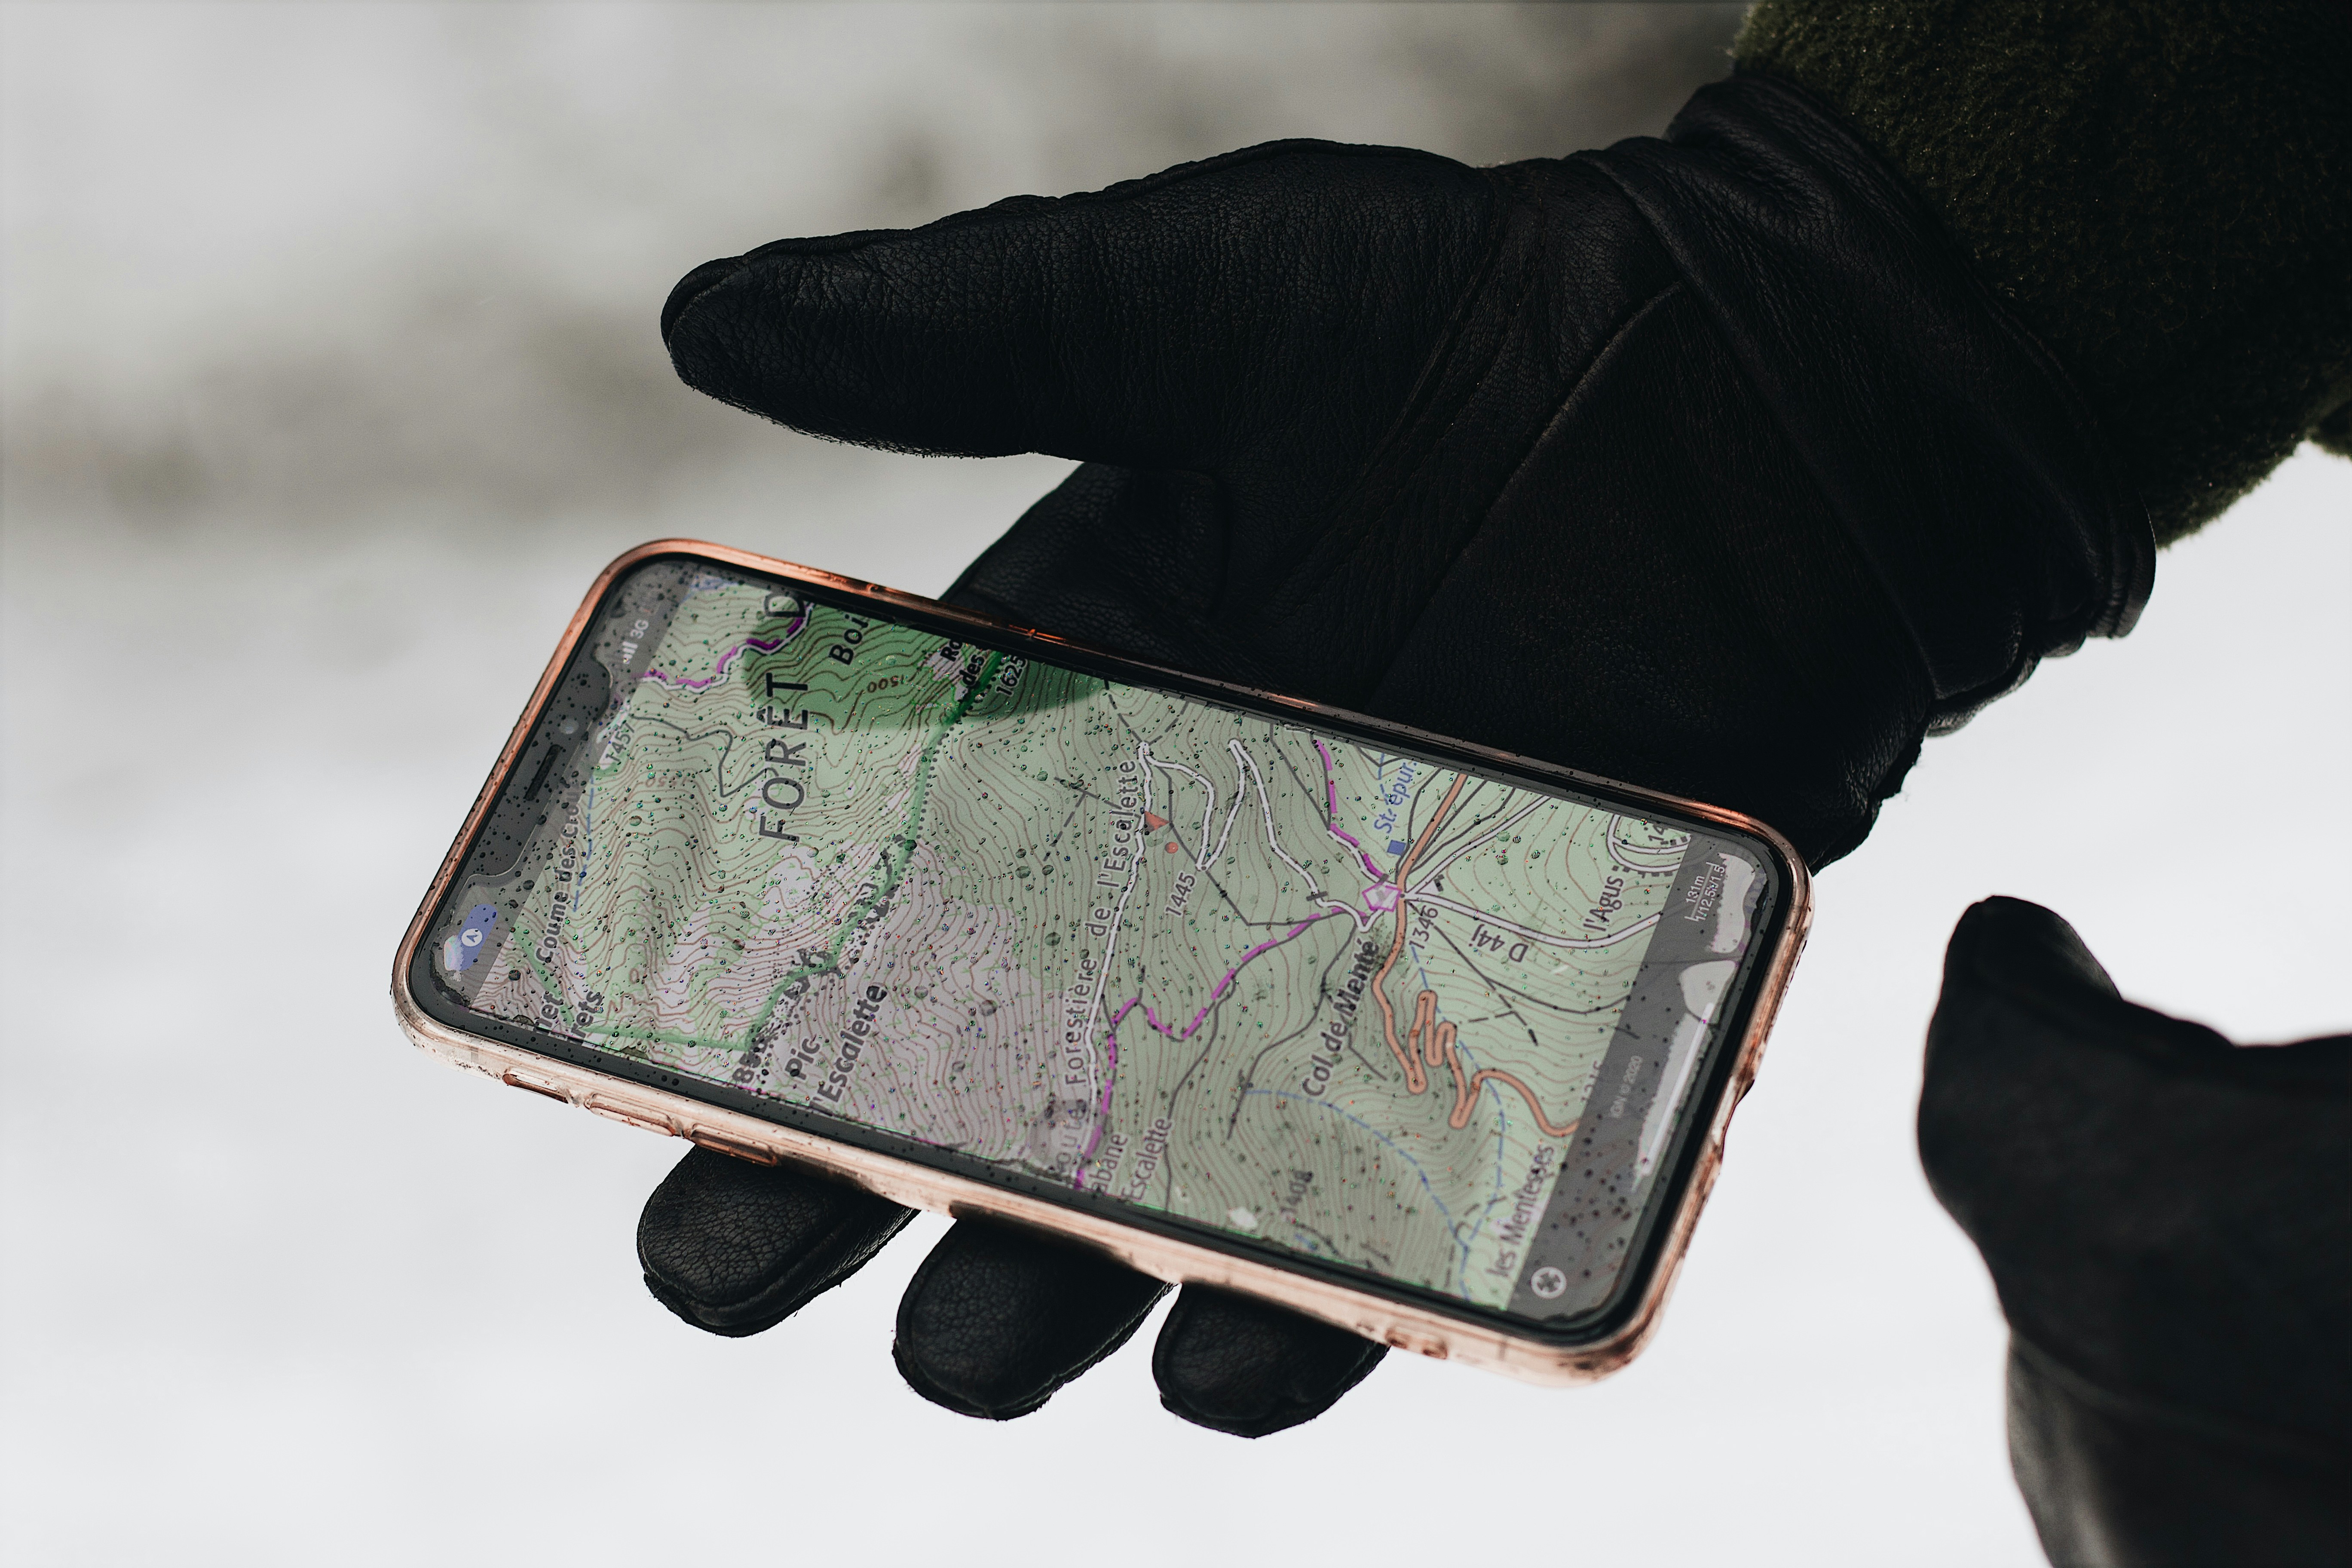
GPS tracking devices have revolutionized the way we keep track of our vehicles, assets, and loved ones. Whether you’re a parent monitoring your teen’s driving, a business owner managing a fleet, or simply looking to protect your vehicle from theft, a GPS tracker can provide real-time location data and peace of mind. But if you’re new to the technology, setting up your first device can seem daunting.
This step-by-step guide to setting up your first GPS tracking device will walk you through everything from unboxing to real-time tracking, ensuring you get started confidently and correctly.
Understanding How GPS Trackers Work
Before diving into setup, it’s helpful to understand how GPS tracking devices function. GPS (Global Positioning System) trackers use satellites to determine a device’s exact location on the globe. Many GPS trackers also use cellular networks (GSM/4G LTE) to transmit that data to a mobile app or website dashboard, allowing you to monitor the tracked object or person in real-time.
Depending on the device, it may offer added features like geofencing, speed alerts, historical route playback, or SOS emergency buttons. Now let’s move on to the actual setup.
Step 1: Choose the Right GPS Tracking Device
The first step is selecting a tracker that suits your specific needs. There are several types:
- Personal GPS trackers: Designed for kids, seniors, or pets.
- Vehicle GPS trackers: Hardwired or plug-and-play models for cars, trucks, or motorcycles.
- Asset trackers: Used for tracking luggage, shipments, or equipment.
Some devices require a monthly subscription for cellular connectivity, while others may offer lifetime free tracking via Bluetooth or local networks.
Tip: Read reviews, compare battery life, network coverage, and app functionality before purchasing.
Step 2: Unbox and Charge Your Device
Once you’ve chosen your device, begin by unboxing it and reviewing the contents. Most GPS tracking kits include:
- The GPS tracker unit
- Charging cable or battery pack
- SIM card (in cellular models)
- Installation instructions
- Optional magnetic mount or adhesive
If your device runs on battery power, charge it fully before beginning the setup. This ensures optimal performance during configuration and initial tracking.
Step 3: Install or Insert the SIM Card (If Required)
If your device uses cellular data, it may require a SIM card. Some trackers come with pre-installed SIMs, while others may need you to purchase and insert one manually.
To insert a SIM card:
- Power off the device if necessary.
- Locate the SIM tray—this is usually on the side or bottom of the unit.
- Insert the SIM card according to the diagram (gold contacts facing down).
- Power the device back on.
Ensure the SIM card is activated with an active data plan. Some services provide an online dashboard where you can activate the SIM card and track your usage.
Step 4: Download the Companion App or Access the Web Portal
Most modern GPS trackers come with a free mobile app (iOS and Android) or web dashboard where you’ll manage your device and track locations. Refer to the instruction manual for the correct app to download—this is often listed on the packaging or quick start guide.
After downloading:
- Open the app or visit the website.
- Register for an account using your email and create a password.
- Log in to begin pairing your GPS device with the account.
Step 5: Pair the GPS Tracker With Your Account
To begin tracking, you’ll need to register the device in the app or online dashboard. Usually, you’ll be prompted to:
- Enter the device’s unique ID or IMEI number (found on the back of the device or inside the packaging).
- Assign a name or label (e.g., “My Car,” “Sam’s Backpack”).
- Set your timezone and notification preferences.
Once paired, your tracker will begin sending real-time data to your app.
Step 6: Choose a Mounting or Placement Option
The way you install the device depends on the type of tracker:
For Vehicle GPS Trackers:
- OBD Plug-and-Play Trackers plug directly into the OBD-II port under the vehicle dashboard.
- Hardwired Trackers need to be installed into the vehicle’s power system, often by a professional.
- Magnetic Mount Trackers can be discreetly placed under a seat or inside the trunk for covert tracking.
For Personal or Asset Trackers:
- Place the tracker inside a backpack, purse, or luggage.
- Use included clips or straps to attach it to a pet collar or belt loop.
Ensure the device is placed in an area with minimal metal interference and decent exposure to the sky for optimal GPS signal.
Step 7: Set Up Alerts, Zones, and Preferences
Now that your tracker is operational, customize it to suit your needs. Common features include:
- Geofencing: Create virtual boundaries so you get notified when the tracker enters or exits a location.
- Speed Alerts: Receive alerts if the vehicle exceeds a set speed limit.
- Low Battery Alerts: Know when it’s time to recharge.
- Update Frequency: Adjust how often location data is sent (e.g., every 10 seconds or every minute).
Use the app’s dashboard to activate these preferences and receive alerts via push notification, email, or SMS.
Step 8: Test and Monitor
Finally, take your tracker for a test run. Whether it’s a car ride around the neighborhood or placing it in your child’s backpack for school, monitor the location data in your app.
Check that updates are timely and accurate, alerts are functional, and battery performance is as expected. If the app shows signal delays or inaccuracy, reposition the tracker for better reception or contact the device’s support team.
Final Thoughts
Following this step-by-step guide to setting up your first GPS tracking device ensures a smooth and stress-free experience. With just a bit of time and the right configuration, you’ll be tracking and protecting what matters most in no time.
From family safety and fleet management to asset tracking, GPS devices offer powerful peace of mind—and now you know exactly how to set yours up with confidence.
